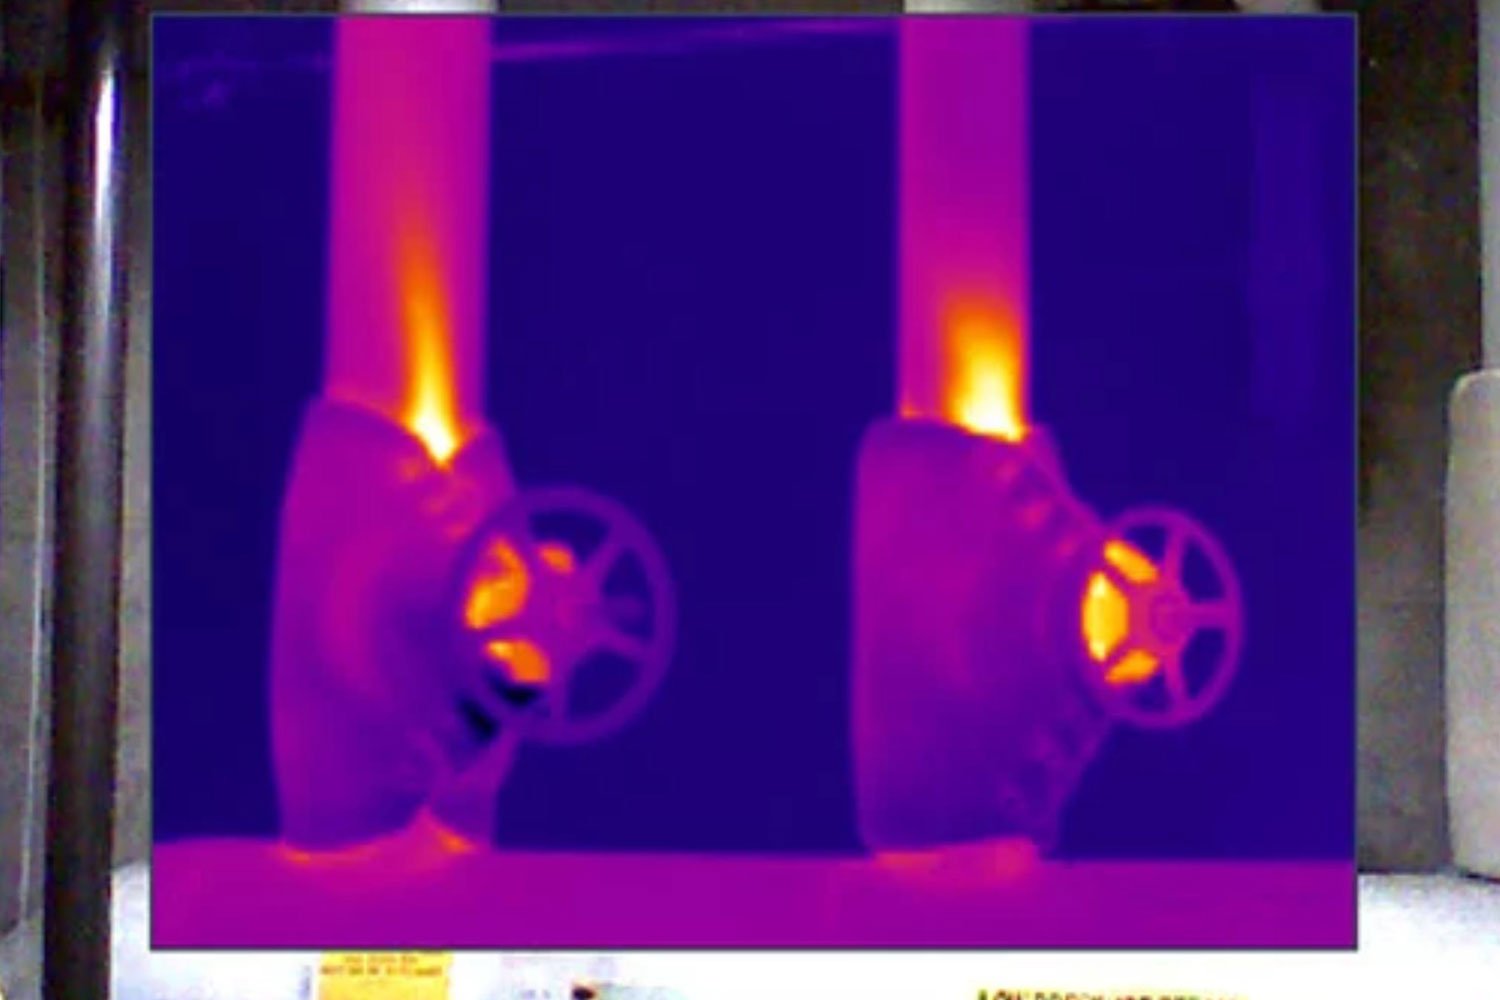
Valves, the actuators that move them, and the electronic circuits that control them, endure tough daily use. A valve may be stroked from hundreds to tens of thousands of times over a one-year period. This causes screws to reposition, springs to weaken, and mechanical linkage to loosen. The valve seat wears both from the repeated seating of the valve, and from the liquid or gas that passes through it.

In addition, electronic components experience “calibration drift” causing valves to not fully open or close, to close prematurely, or to operate erratically resulting in improper regulation of the gas or liquid under their control.
To avoid this, it is important to establish a preventive maintenance program to regularly check valve positioners in the field. These checks need to be conducted quickly to minimize down time, and be followed by quick recalibration when calibration drift is found.
Six steps to check valve positioning
The following are the basic steps for making position checks on a valve positioners. Always consult the valve manufacturer’s specific instructions for proper and appropriate positioner testing and calibration.
1. Set up
Set up the Fluke 789 ProcessMeter in sourcing mode using the appropriate range of current for the positioner.
- Connect the test leads to the mA source output jacks on the Fluke 789.
- Select the 4-20 mA range by moving the rotary functions witch from Off to the orange upper mA output position.
- Connect the Fluke 789 to the input terminals of the valve.
2. Test valve closing
To determine whether the positioner fully closes the valves at the 4.0 mA current level.
- Adjust the source current to 4.0 mA on the Fluke 789 ProcessMeter by pressing the 0% button below the SpanCheck button.
- While watching the valve for any movement, press the Coarse Down button once to decrease the current to 3.9 mA. There should be no movement of the valve.
- Adjust the zero adjustment on the valve positioner to set the valve for the closing you desire.
3. Test valve opening
To check the opening of the valve, press the Coarse Range button up from 4.0 mA. The Fluke 789 ProcessMeter will increase 0.1 mA for each press of the Coarse Range button.
Note: In setting the point at which the valve starts to open, be sure there is no counter pressure by the actuator against the force holding the valve closed when there is 4.0 mA on the controller’s input.
- In a spring-to-close valve, there should be no pressure on the diaphragm.
- With a double acting piston actuator, there should be no pressure on one side of the piston.
- You can set the start of the valve opening between 4.1 and 4.2 mA to ensure that there is no counter pressure against those forces at the closed setting.
4. Test span position
The span position check tests the valve in the fully open position.
- Press the SpanCheck 100% button which gets you to 20 mA. Use the range buttons on the Fluke 789 ProcessMeter to adjust the source current for a 20 mA reading and wait for the valve to stabilize.
- While watching or feeling for valve movement, press the Coarse Up range button once to 20.1 mA.
- Using the Coarse control button, adjust current up and down between 20.1 mA and 19.9 mA. There should be no movement of the valve stem from 20.1 to 20 mA and slight movement from 20 mA to 19.9 mA.
5. Test linearity
For valves with linear action.
- Set the Fluke 789 ProcessMeter to 4 mA.
- Using the % Step button, step the current to 12 mA (50%) and confirm the valve position indicator is at 50% travel.
Note: If your valve is a non-linear type, refer to the valve manual for proper operation.
6. Test valve for smooth operation
- Set the rotary switch to the lower output mA and select the Slow Ramp function using the blue button.
- Allow the Fluke 789 ProcessMeter to ramp through several cycles while you watch or feel for any abnormal valve operation. The valve should NOT oscillate or hunt at any of the step positions of the Slow Ramp, nor should the valve be sluggish.
- Set the gain of the valve controller to appoint that gives the best response between these two conditions.
Five ways Fluke Connect capabilities enhance valve positioner field testing
The Fluke 789 FC ProcessMeter and Temperature Kit delivers all the power and capabilities of the Fluke 789 ProcessMeter along with the FC Connector that gives you access to all the capabilities of the Fluke Connect app on your smart phone, including the ability to:
- Archive measurements to EquipmentLog™ history in Fluke Cloud™ storage for documentation and future reference in the field.
- Compare real-time measurements to historical data.
- Connect with other technicians and your manager through a ShareLive™ video call, to show them exactly what you’re seeing and get instant feedback.
- Move further away from hazardous areas by setting up the Fluke 789 FC ProcessMeter at the valve and viewing the results on your smart phone.
- Access digital product manuals, Fluke application notes, and other resources from the field through your smart phone.