With the fluctuating price of raw materials, industries are faced with a challenge to adjust to the times and the profit margins. One of the few ways to control costs in all of industry, in fact, is to get leaner and more efficient.

And one of the best ways to control those costs is finding the waste in your process. That means a lot of fine tuning to make sure, from an instrumentation standpoint, that you’re getting the temperatures and pressures right for high quality production and the efficient use of input.
Calibrating equipment improves optimization and quality—and that holds true in other process industries as well, whether it is chemical processing, nuclear power, pharmaceutical or pulp and paper. Process manufacturing plants require hundreds, even thousands of sophisticated devices that perform countless critical operations ceaselessly, accurately, and reliably. Those devices in turn require regular inspection, testing, calibration, and repair.
Centuries of industrial experience has established the value of carefully recording the details of those inspections, tests, calibrations, and repairs. More than a best practice, businesses and governments often require highly specific record keeping to assure that full value is delivered to customers and that the health and safety of citizens is protected.
However, traditional testing, calibration and documentation practices are also labor-intensive, and with senior operators in scarce supply, down-sized teams sometimes choose to defer regular calibration. The latest industry findings suggest that smaller teams can feasibly conduct and document device calibrations, at a lower overall cost, with additional productivity and operational reliability benefits.
Calibration is typically performed either where the device is located (called in situ calibration, from the Latin for “in position”) or in an instrument shop.
Pro tip:
When a field instrument is manufactured, both the primary element and the transmitter (or the actuator, if a control valve) are calibrated at the factory and the calibration information is supplied with the unit. This calibration data is often lost. Entering this information into centralized calibration records when the device is put into service should be part of standard work, and not just for efficiency’s sake.
Centralizing calibration information ensures knowledge stays with the facility even as teams change.
Most field instruments are made up of two parts: a primary element and a transmitter.
- Primary elements include flow tubes, orifice plates, pressure sensors, wet chemistry sensors such as pH, ORP, and conductivity probes, level gauges of all types, temperature probes, and others. Primary elements typically produce a signal—usually voltage, current, or resistance—that is proportional to the variable they are designed to measure, such as level, flow, temperature, pressure, or chemistry. Primary elements are connected to the input of field transmitters.
- Field transmitters include pressure, temperature and flow devices. They process the signal generated by the primary element, first characterizing it in linear format and applying engineering unit coefficients to it, before then transmitting it in analog (usually 4-20 mA dc) or digital format (usually some variety of fieldbus).
Analog devices
Analog devices—often called “4 to 20 milliamp loop” devices—are so called because they transmit a signal that is an electrical “analog” representation of a measured physical quantity (temperature, for example). They transmit an electric current that is proportional (analogous) to the magnitude of a measured physical quantity, with 4 milliamps of current representing the minimum scaled value and 20 milliamps representing the maximum scaled value.
Although many system aspects are now digital, analog devices are still in active use throughout the process manufacturing world.

Digital devices
Digital devices convert a measured physical value into a digital signal. Many different digital encoding methods are used in the process industry, including Foundation Fieldbus, Profibus, and HART.
There is a widespread belief that fieldbus (digital) field devices do not require calibration. This is not true. Although a fieldbus signal (whether Foundation Fieldbus, Profibus, or connected HART) provides diagnostic information, it does not provide information about the accuracy of the device, nor does it verify that the device is reporting the process accurately and precisely.
Top 3 calibration tools to keep your processes lean
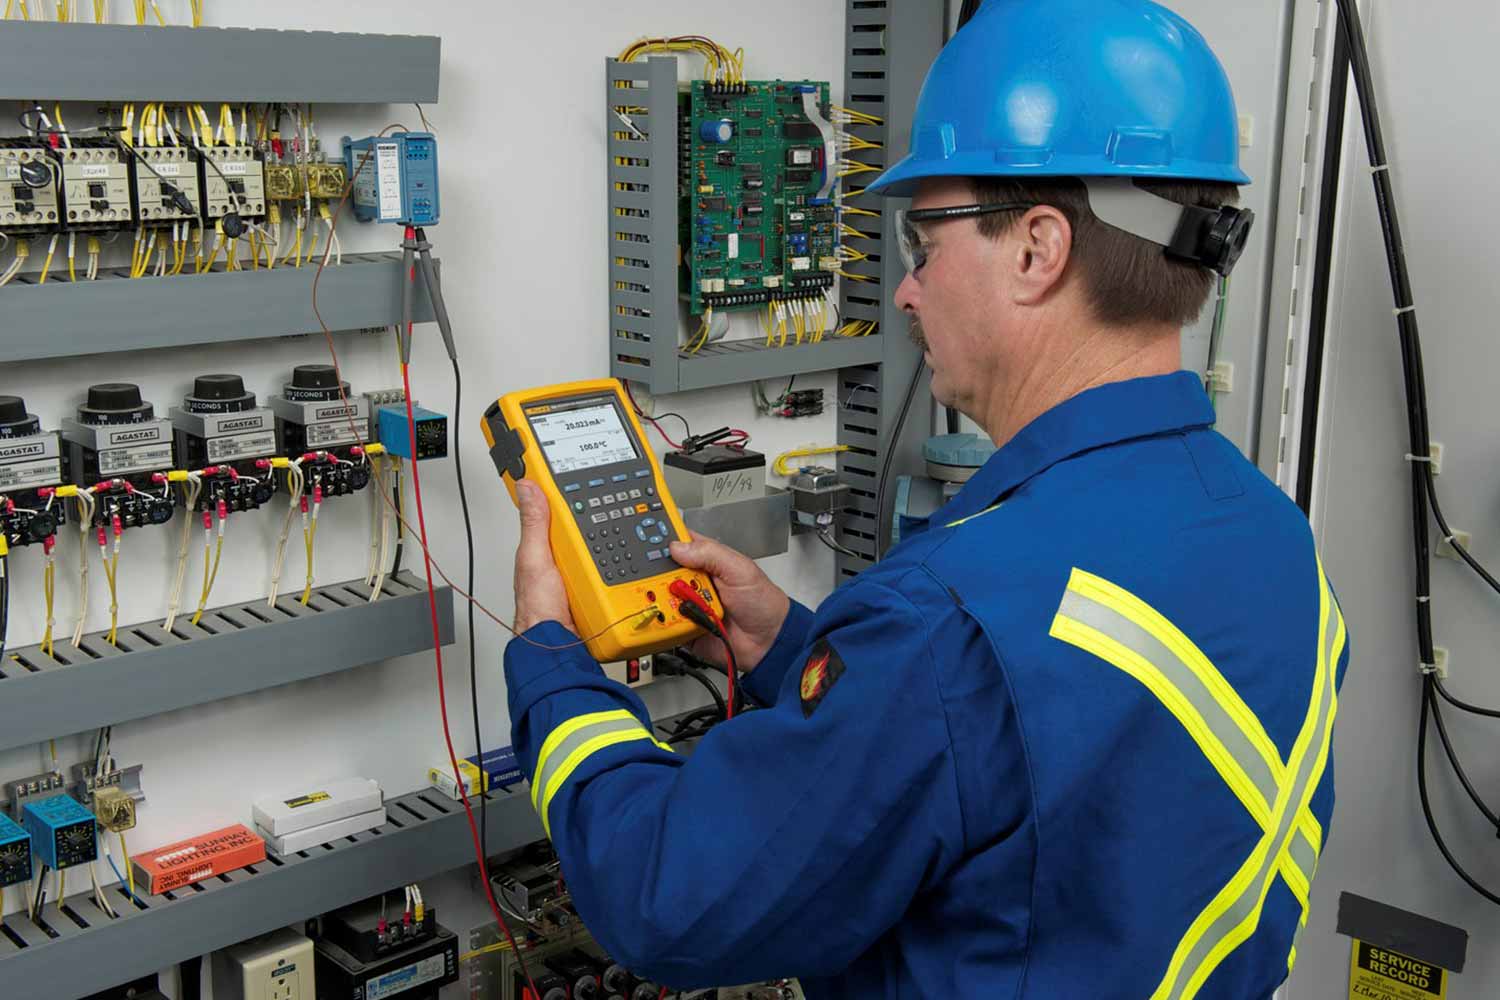
- Fluke 754 Multifunction Documenting Calibrator with HART capabilities and automated calibration procedures and of course, meets rigorous safety standards.
- Fluke 721 Precision Pressure Calibrator high precision with dual isolated sensors for gas custody transfer applications.
- Fluke 700G Precision Pressure Gauge Calibrator high-quality and rugged, high-quality pressure for fast and accurate test results.
Control valves
Control valves have actuators that also require calibration to adjust for wear, re-packing of the valve for leakage remediation and the effects of sticking or “stiction.” Often these valves must be given a full or partial stroke test if they haven’t been actuated regularly to ensure dependable operation.

Permitting and paperwork
Administrative tasks, from getting permits to documenting and filing results, can add to the cost and time required to perform even an in-situ calibration. As Ian Verhappen, of Industrial Automation Networks, and a former Chair of the Fieldbus Foundation User Group, has said, “In many cases getting all the necessary paperwork (permits, isolation, etc.) in order often takes longer than the work itself.”
Challenges of documenting calibration
Documenting a calibration has traditionally meant using a logbook to hand-write the date and time, the pre-calibration readings, the post- calibration readings, and any other observations the technicians made. Surprisingly, many plants continue to document calibration work by hand. But pencil-and-paper documentation has many shortcomings.
First, it both produces and perpetuates errors. The data in hand-written records is often simply illegible or insufficient. Facilities that use a computerized maintenance management system (CMMS) must then account for the additional time required to manually enter handwritten data, with additional possibilities for error.
Changing workforce
Another challenge facing calibration is change to the workforce.
The 1980s brought budget cuts and layoffs. Engineering, maintenance and operations staffs were cut substantially and a new “lean manufacturing” philosophy took root that continues today, especially in developed economies.
Smaller teams have less time for mentoring and on-the-job training, to the point where equipment and system-specific knowledge is not being successfully transferred from the individual to the institution. As older operators and engineers retire, they take their equipment and system knowledge with them.
“Every day at 4 pm, the plant’s institutional knowledge walks out the front gate,” says the Chief Instrumentation and Controls Engineer of a large Midwestern refinery, “and sometimes it doesn’t come back.”
Meanwhile, many facilities still need two technicians for each in-situ calibration—one at the transmitter and one at the control system. The Fieldbus Foundation estimates that commissioning requires two techs for a minimum of two hours.
Use multifunction, documenting calibrators
A new generation of “smarter” field calibration tools are increasing worker productivity by consolidating multiple tools into one and performing functions beyond basic test and measurement, such as assisting with analysis and documentation.
Multifunction “documenting process calibrators” are handheld, electronic test tools that consolidate multiple calibration steps and functions into a single device, sourcing simulating and measuring pressure, temperature, and a wide variety of electrical and electronic signals.
Benefits:
- Fewer tools that technicians need to train on and carry into the field
- Similar calibration processes and data output across multiple devices, compared to a different process to collect a different set of data from each tool and device
- Automated procedures replace many manual calibration steps
- No second technician required to record the as-found and as-left state of the field device.
- Faster calibration time per device
- Calculate the error of a single tool rather than adding the errors of several tools
Use calibration routes
The biggest savings from using a documenting calibrator comes in the route management tool built into the device. Using a single set of permits and paperwork for an entire set of calibrations reduces costs considerably.
Implement an asset management, calibration management, or computerized maintenance management system (CMMS)
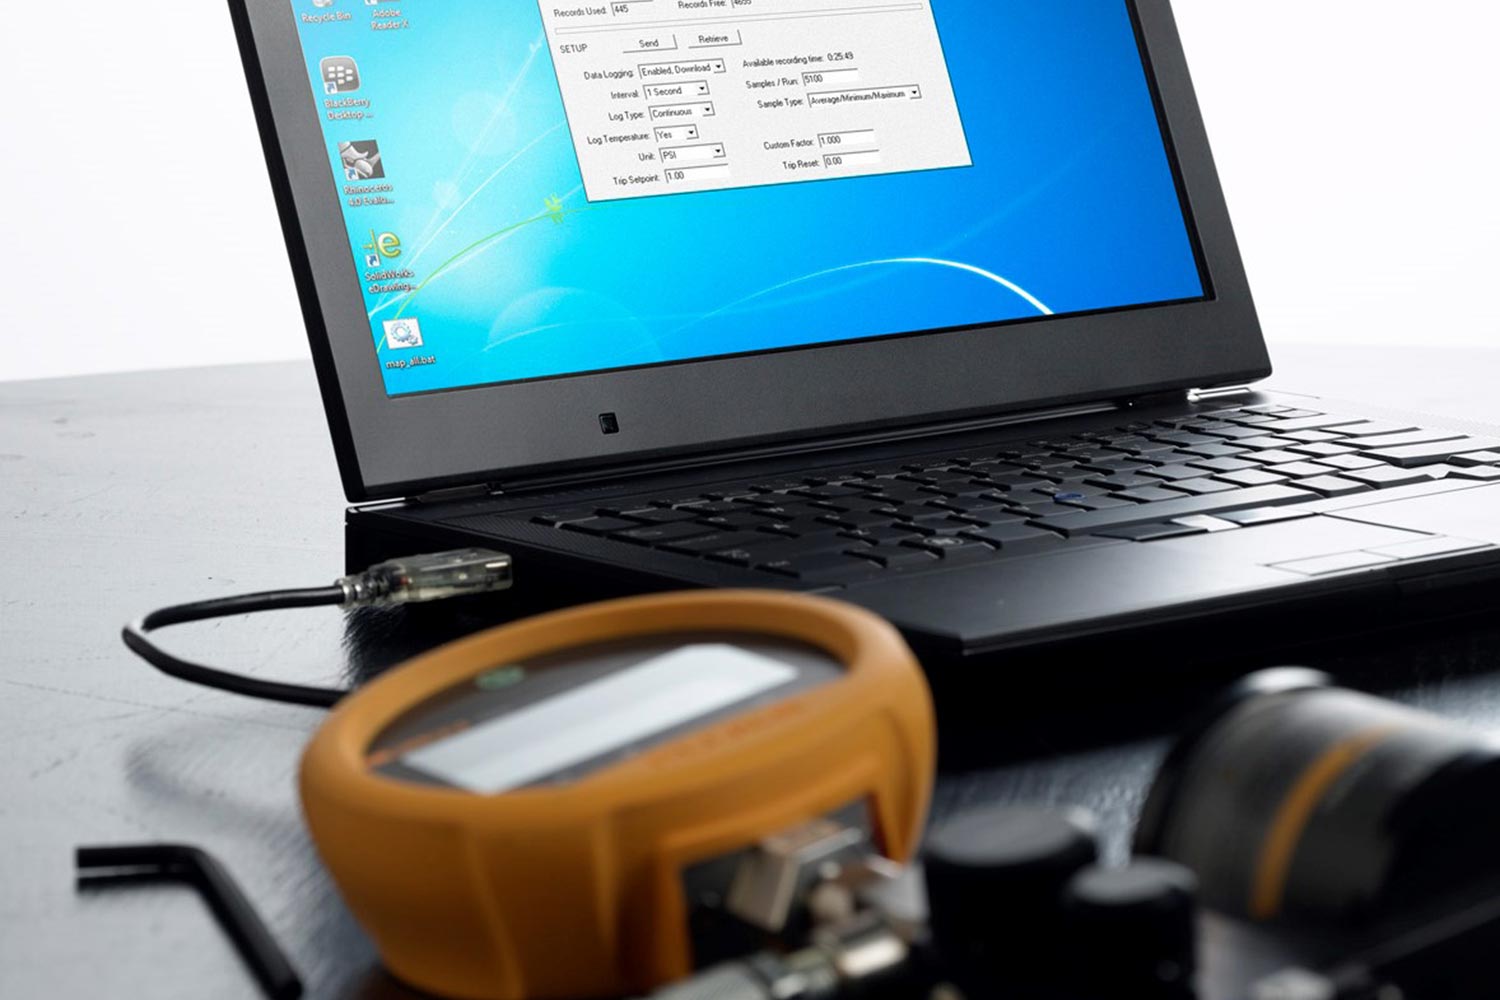
Unlike paper documentation, calibrator data is never illegible, cryptic, or partial. Documenting calibrator data can be directly downloaded into a variety of different CMMS systems with no transcription or filing.
Because documenting process calibrators automatically record the as-found and as-left state of each field device, in situ, and can be operated by a single technician, route-based practices utilizing documenting calibrators can save as much as 50 percent of the time and cost of traditional manual, single-device calibration methods. Stated differently, the same lean team can accomplish twice as many calibrations in a given period of time.
Running a lean team under the traditional operational requirements is a recipe for error. Calibrations simply don’t happen the way they should. Instead of ignoring the looming threat, investigate how existing practices can be made more efficient.
Implement route-based calibration, paperless documentation, and CMMS data management. More calibrations will occur more consistently, knowledge will be transferred from the individual to the team and to the institution, and both productivity and quality will increase.
Calibrating multiple instruments in the course of a route reduces the cost per calibration, compared to individually calibrating single instruments.
Besides saving maintenance costs, the legal costs and lost revenue from accidents can be in the millions. Good calibration maintenance practices help reduce the probability of such an incident. If the event that disaster strikes, good calibration records can be a part of a facility’s defense in the event of legal action just as poor records can put an organization in a less defensible legal position.